
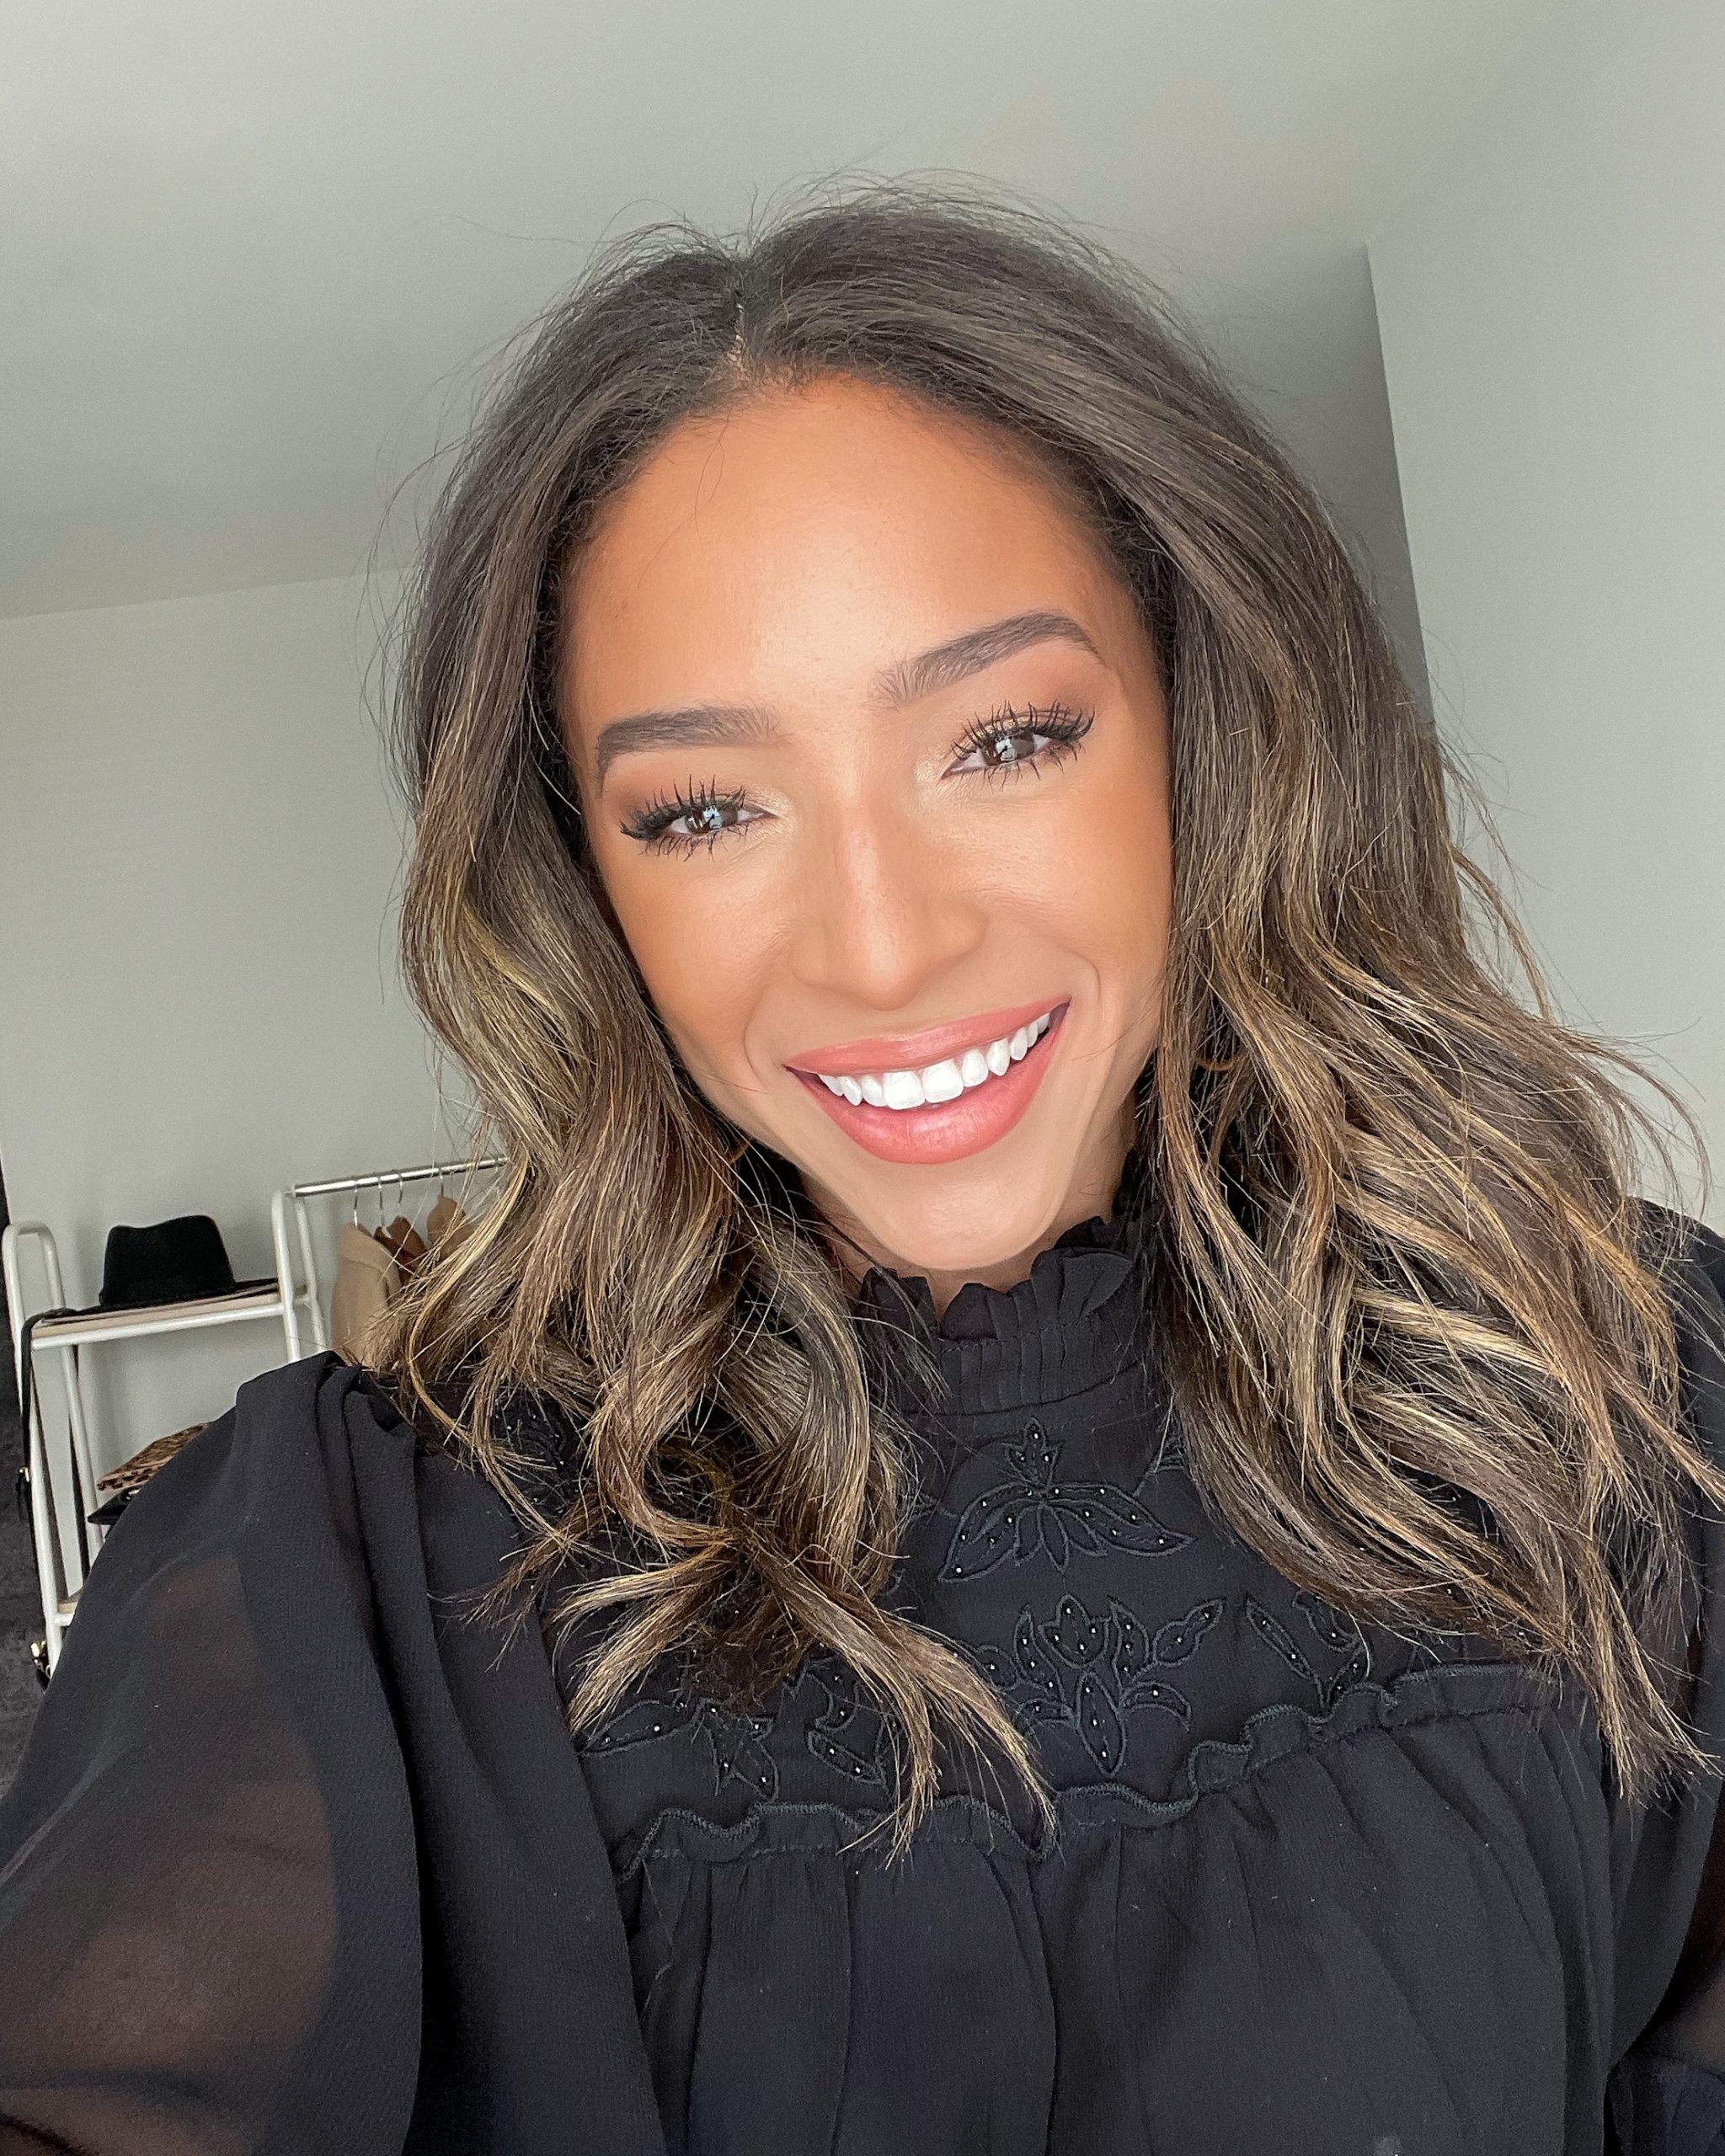
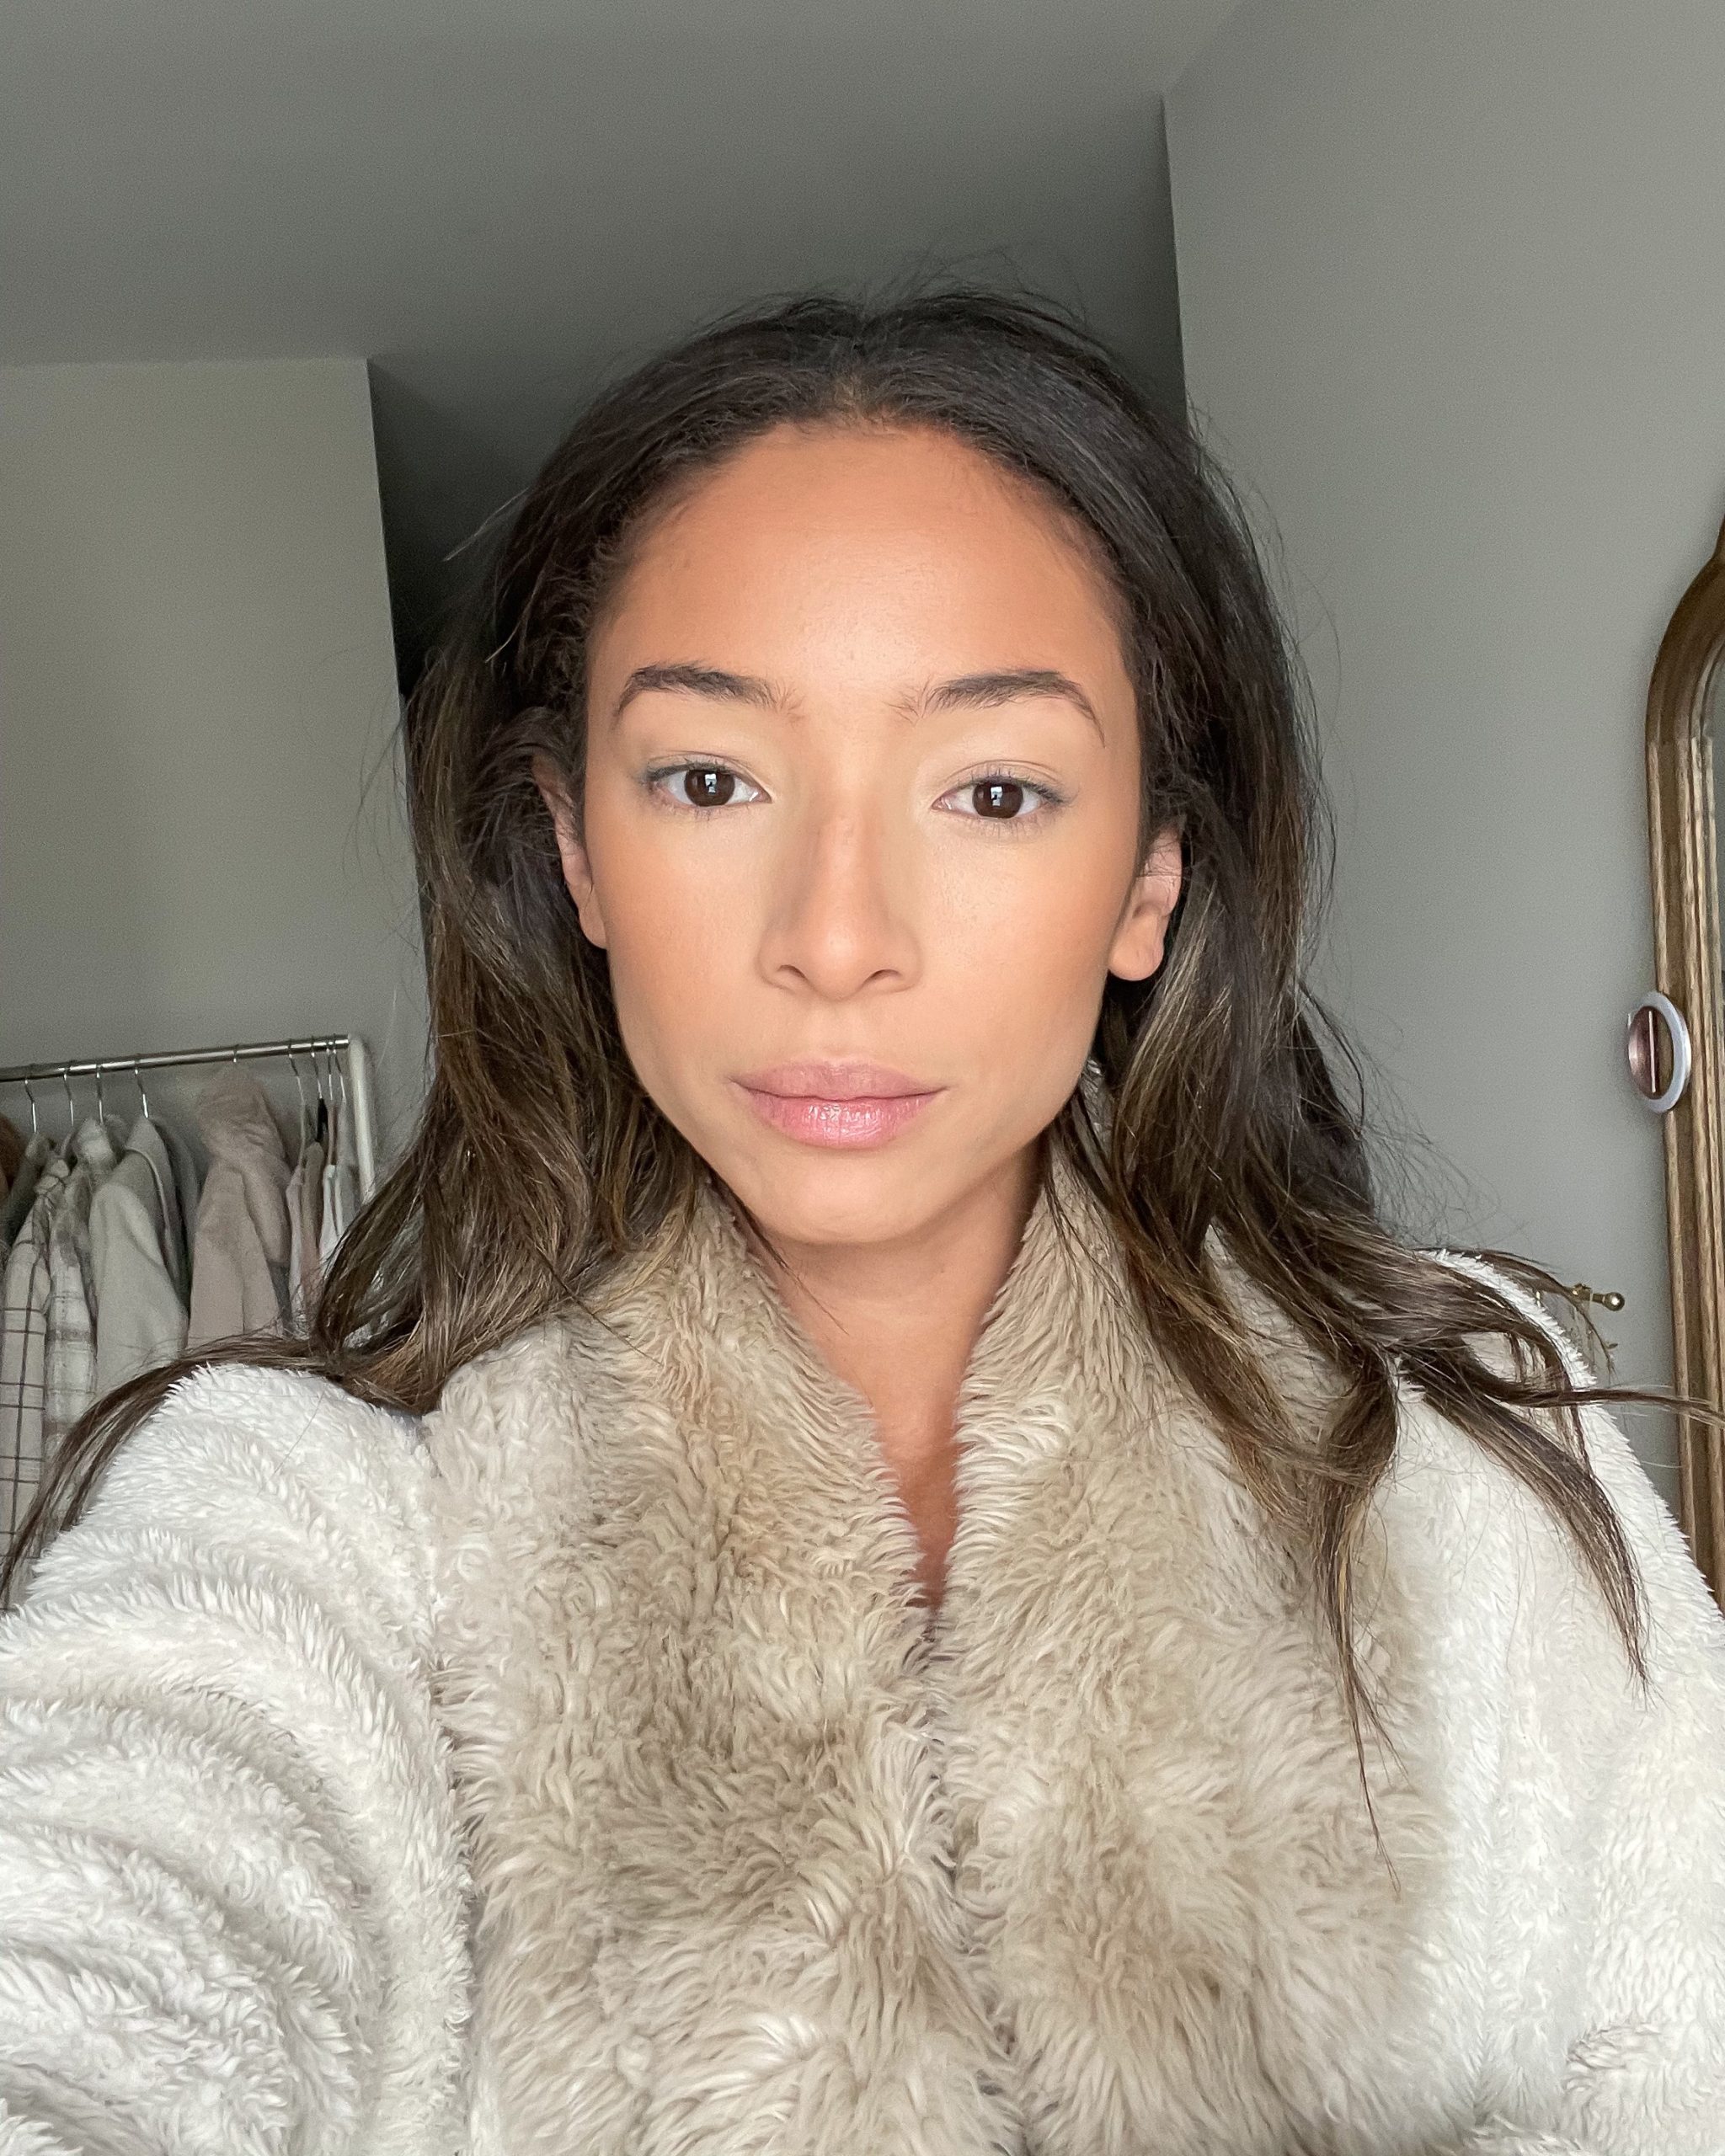
I am so excited to finally share my everyday makeup routine with you! After lots of trial and error I have found a lineup that works for me and takes less than 20 minutes. Not to mention you can get it all from one place – where else but Nordstrom?! Let’s jump right in!
Prep + Prime
Any good makeup starts with a good primer. I start with this Charlotte Tilbury Hollywood Flawless Filter Primer in shade 5. Then, I mix Laura Mercier Perfecting Pure Canvas Primer and Charlotte Tilbury Wonderglow to create a base that locks in foundation but gives your skin a lit from within healthy glow.
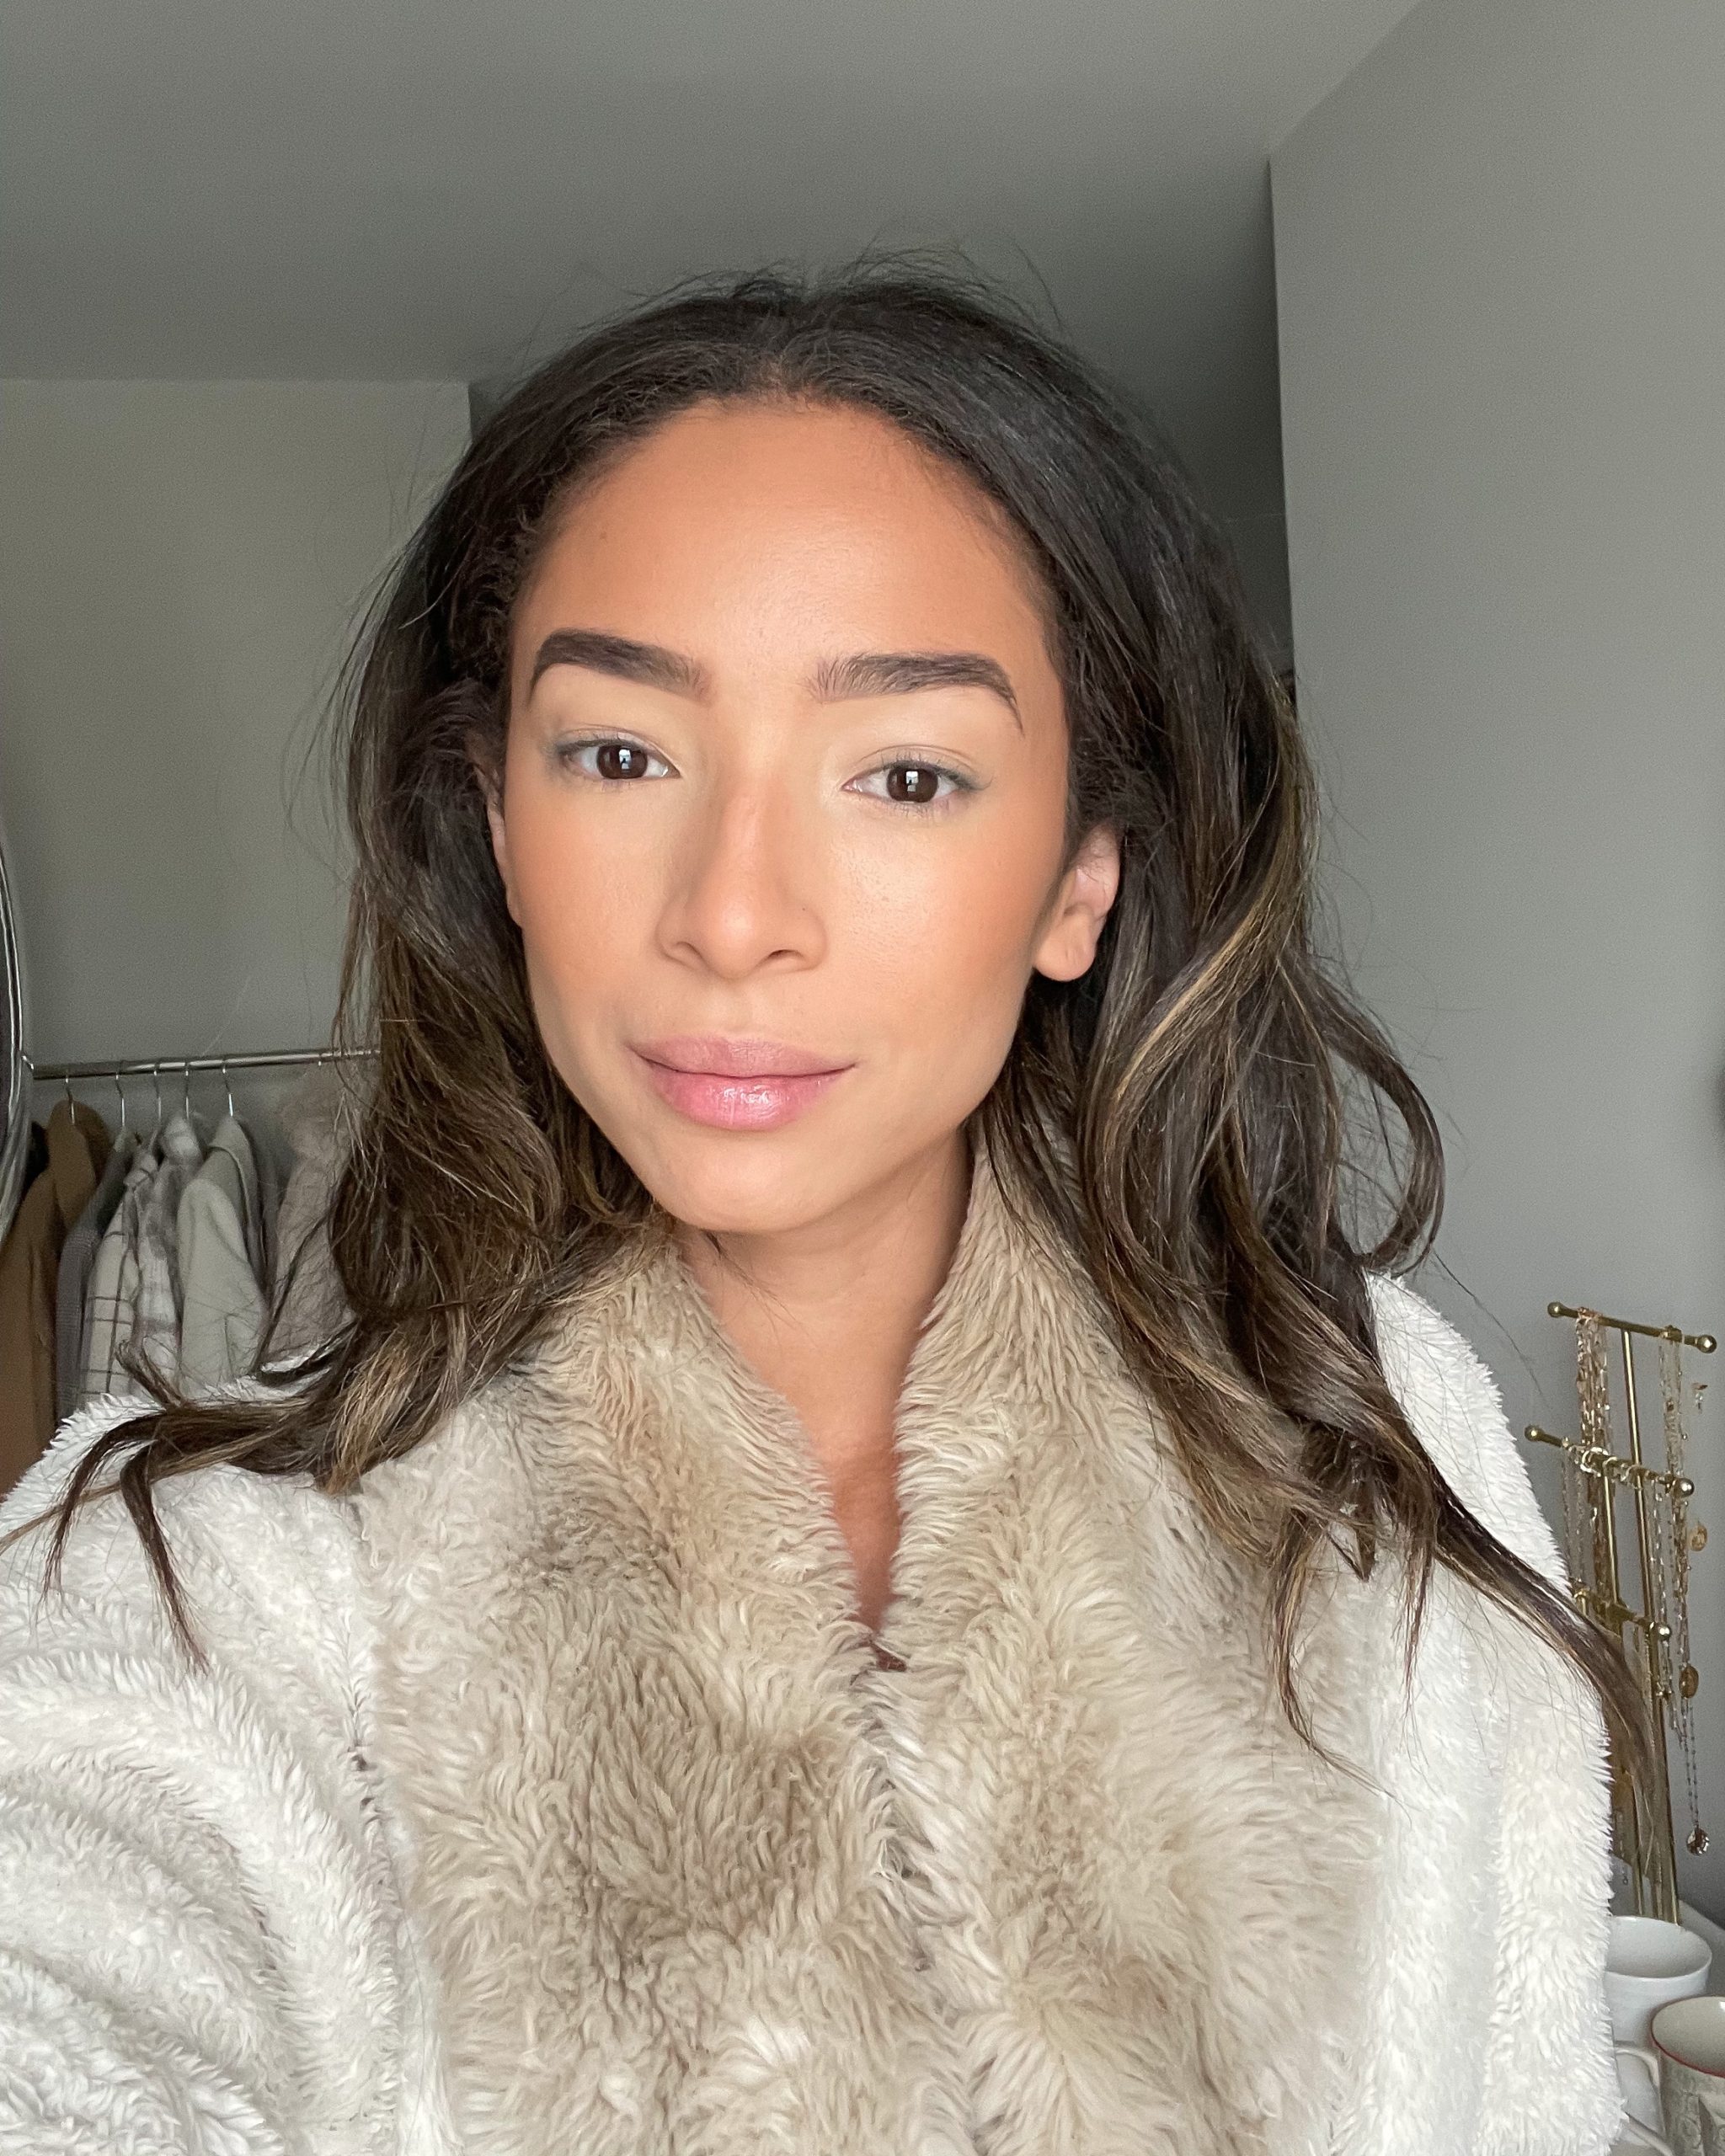
Foundation
Next up, I dab the Estée Lauder Double Wear Foundation in shade Shell Beige all over with a damp beauty blender. This application method creates an airbrushed look without looking cakey. The formula is medium to full coverage and very buildable (aka you can get more coverage with more product). It is the holy grail of foundation and and looks amazing on everyone! I have been using this gem since highschool!
Concealer
I’ve been using the NARS Radiant Creamy Concealer in shade Custard for under my eyes and to highlight my face. It’s the perfect consistency and really does give the skin a subtle healthy glow.
I apply it in a triangle under both eyes, a line down my nose, Cupid’s bow (the little space between your lips and nose), and a tiny bit on my forehead right between my brows. Remember that light colors accentuate so only use this concealer where you want the eye to be drawn.
For blemish coverup my new obsession is the Laura Mercier Secret Camoflauge concealer shade 3N. It works wonders to make dark spots and blemishes disappear flawlessly.
Setting Powder
Many have tried but none will ever compare to the Laura Mercier Translucent powder. It mattifies, sets, and locks in makeup without creating flashback (that horrible white glare that shows up in pictures when the flash is on).
A lot of people just use this wherever they put concealer, but I use this all over to make the bronzer and blush in the next steps go on evenly and ensure it doesn’t go on splotchy.
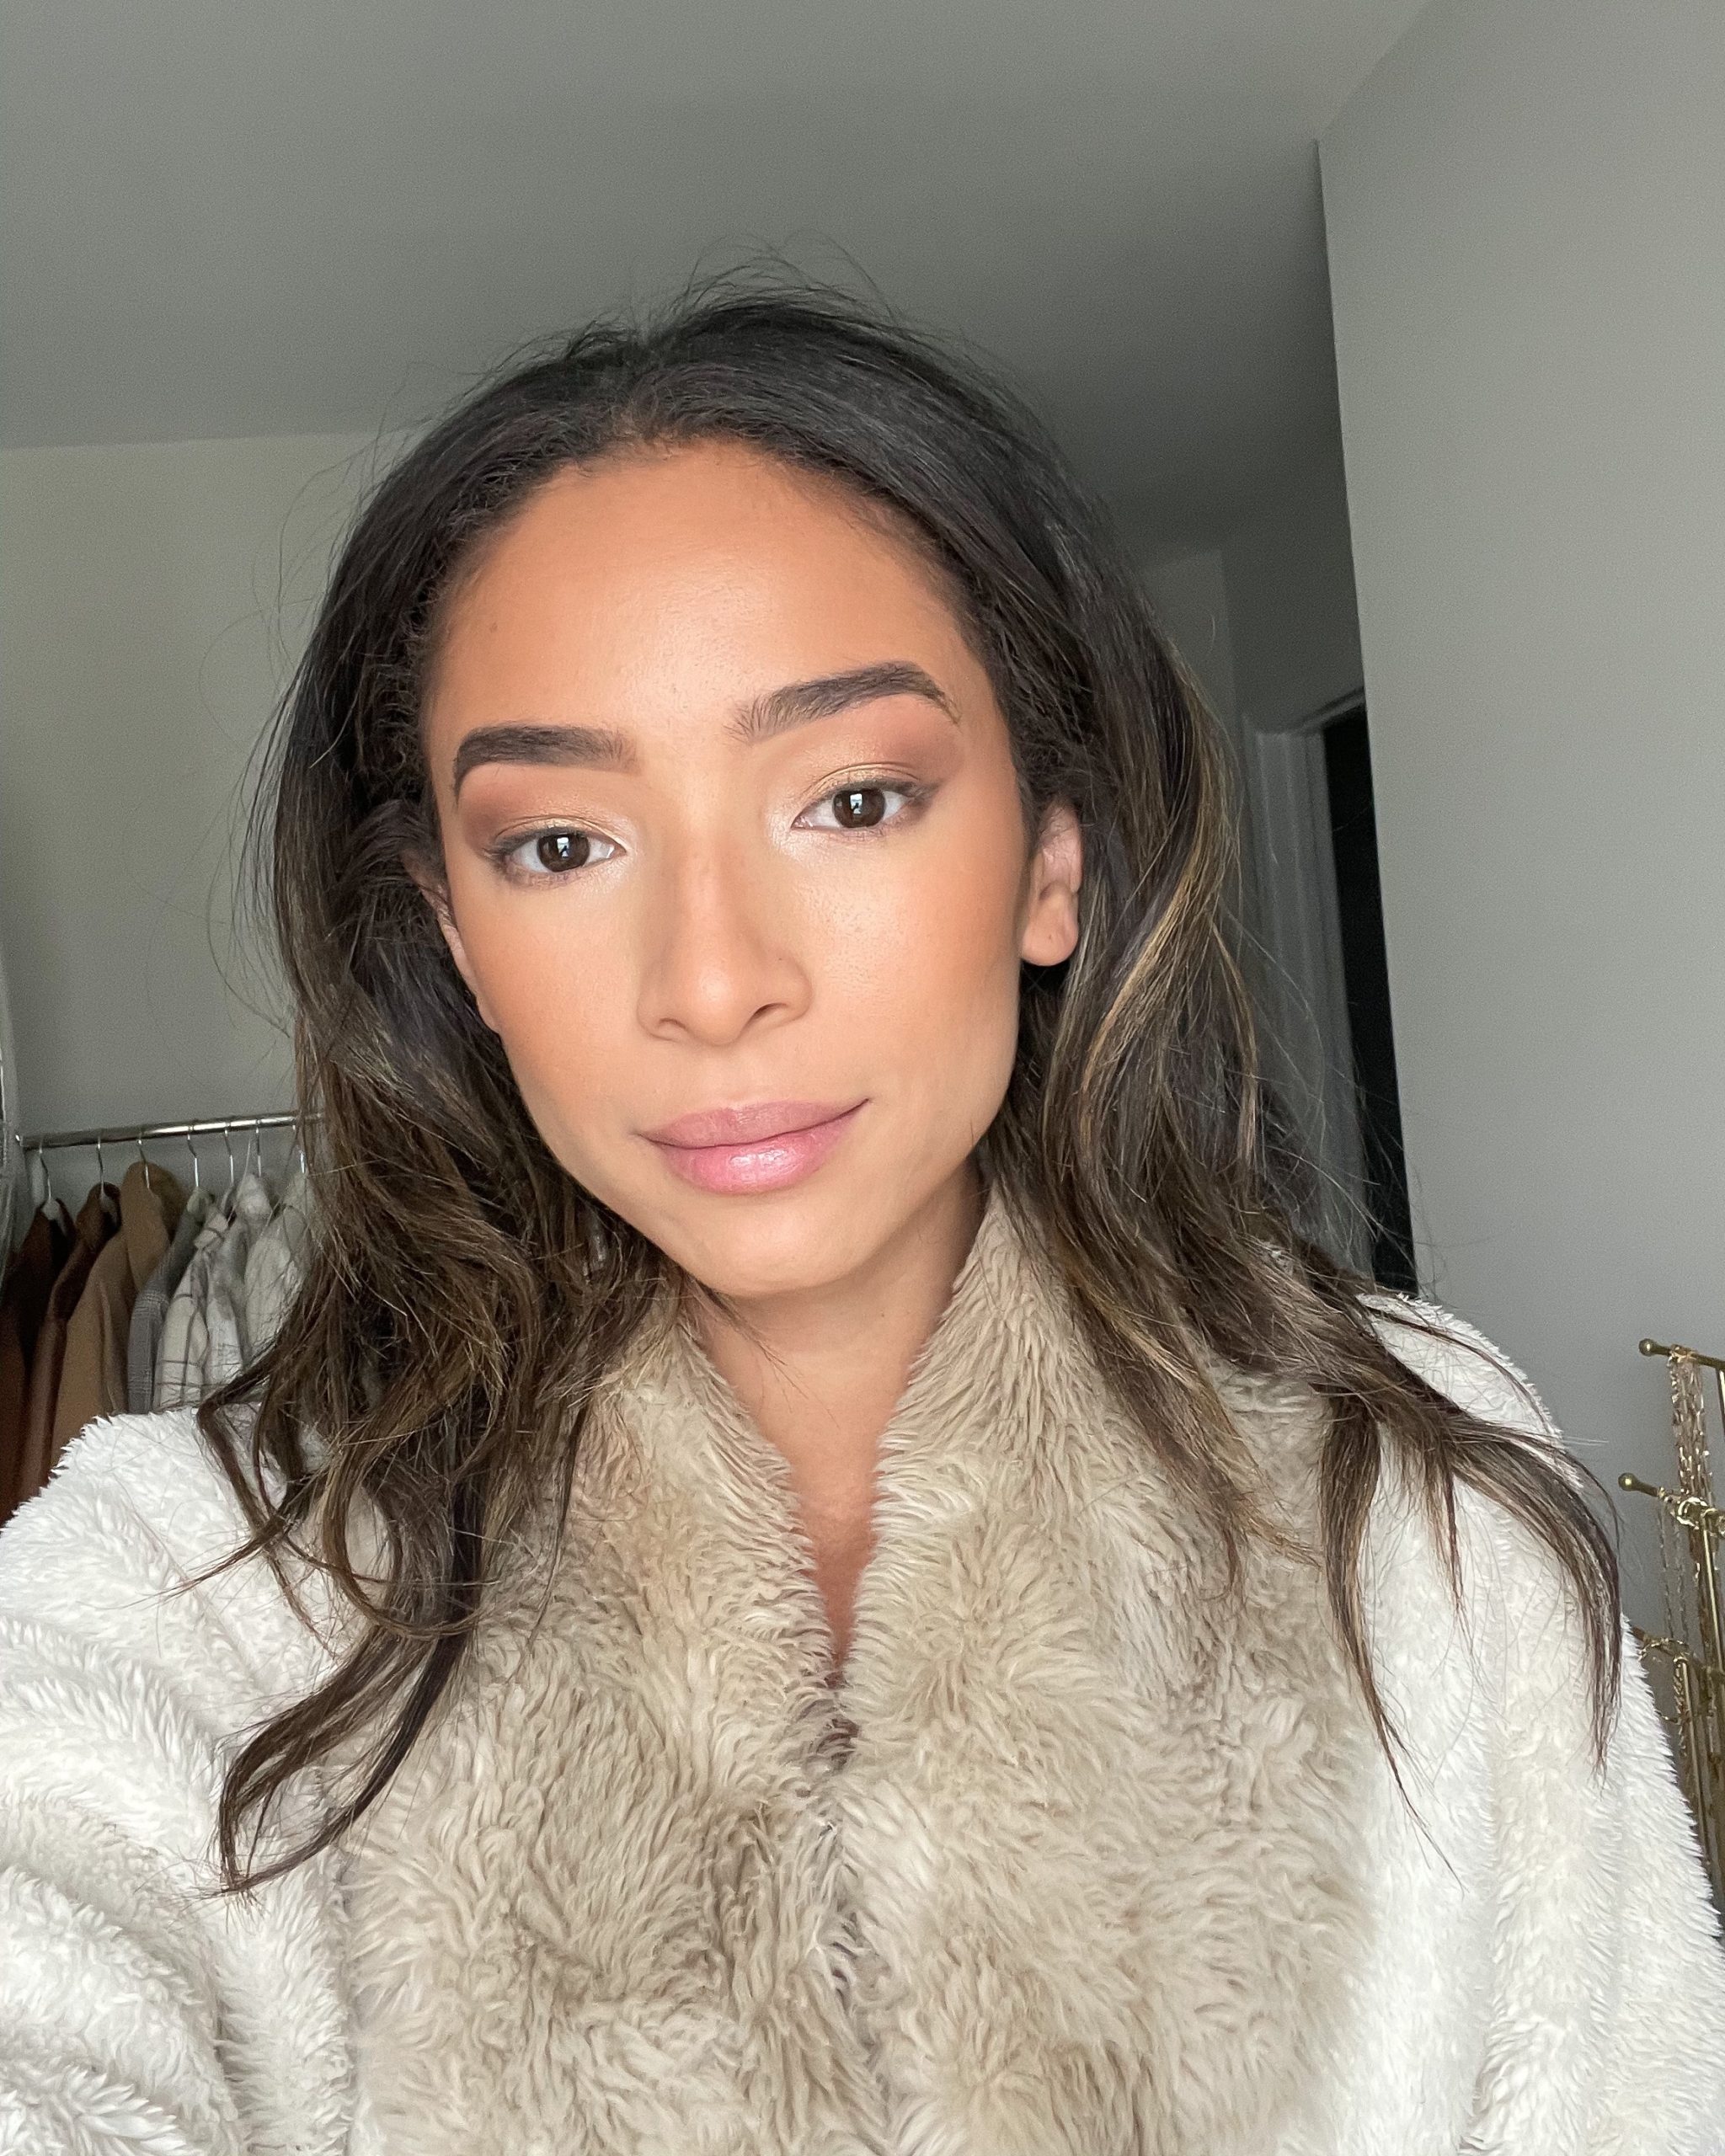
Bronzer
I use a combination here to create both depth and warmth. I love the Charlotte Tilbury Bronze and Glow Duo in Fair/Medium for depth and dimension and the Benefit Hoola Bronzer in Medium for warmth and color! Both are true browns and never look orangey.
I like to apply both in a 3 shape – temples, hollows of cheeks, and jawline.
Blush
I have been using the MAC blush in shade Blush Baby since high school, too! I haven’t found any others that match my skin so well! I apply it on the apples of my cheeks and then add a little bit on my nose and forehead for a naturally sunkissed look.
Brows
Your brows frame your face so it’s important that they are shaped and well-maintained. I like my brows to be full but still natural. I use the Anastasia Beverly Hills Brow Definer in shade Medium Brown and follow the natural shape of my brow while filling in sparse areas. Then I’ll set with the Anastasia Beverly Hills Brow Gel to keep them locked in place all day.
Eyeshadow
I’m a one palette type of gal when it comes to shadow. If I can’t get all the colors I need in one set then it’s a no for me. The Urban Decay NAKED Reloaded is the perfect palette because it has some shimmery shades, some matte, and a mix of warm and cool tones. The possibilities are endless but my go to lineup looks like this:
Crease – “Bucked” + “Boundaries”
Outer corner – “Burn” + “Reputation”
Middle lid – “Barely Baked”
Lower lash line – “Burn”
Winged liner – “End Game”
Inner corner – “Bribe”
Prep Eyelashes
To get the best looking lashes you have to start with a great primer! The Lancôme Cils Booster XL has been my go to – adds volume, length and really lifts your lashes. I start with this then move on to lips to give it a minute to stiffen – about 30 seconds usually. Don’t wait too long or applying mascara will be difficult and look spidery and clumpy.
Lips
Fun fact I used to hate lipstick. I thought it looked so unnatural! Turns out I was just using the wrong shade. Finding a lip color that enhances your natural lips is key to bringing your look together without overpowering the rest of your face. Here’s my current lineup:
Liner – Charlotte Tilbury Lip Cheat “Pillow Talk Medium”
Lipstick – MAC Satin Lipstick shade “Cherish” + DIOR Stellar Shine Lipstick shade “Cd-Dream” (stay in the center of your lips to create contrast with the liner – this creates the appearance of fuller looking lips)
This combo is the perfect nude pink with just a touch of moisture making everything look super natural and healthy.
Mascara
Currently obsessed with the MAC Extended Play Gigablack with Charlotte Tilbury Full Fat lashes layered on top. The combo elongates, lifts, and volumizes lashes.
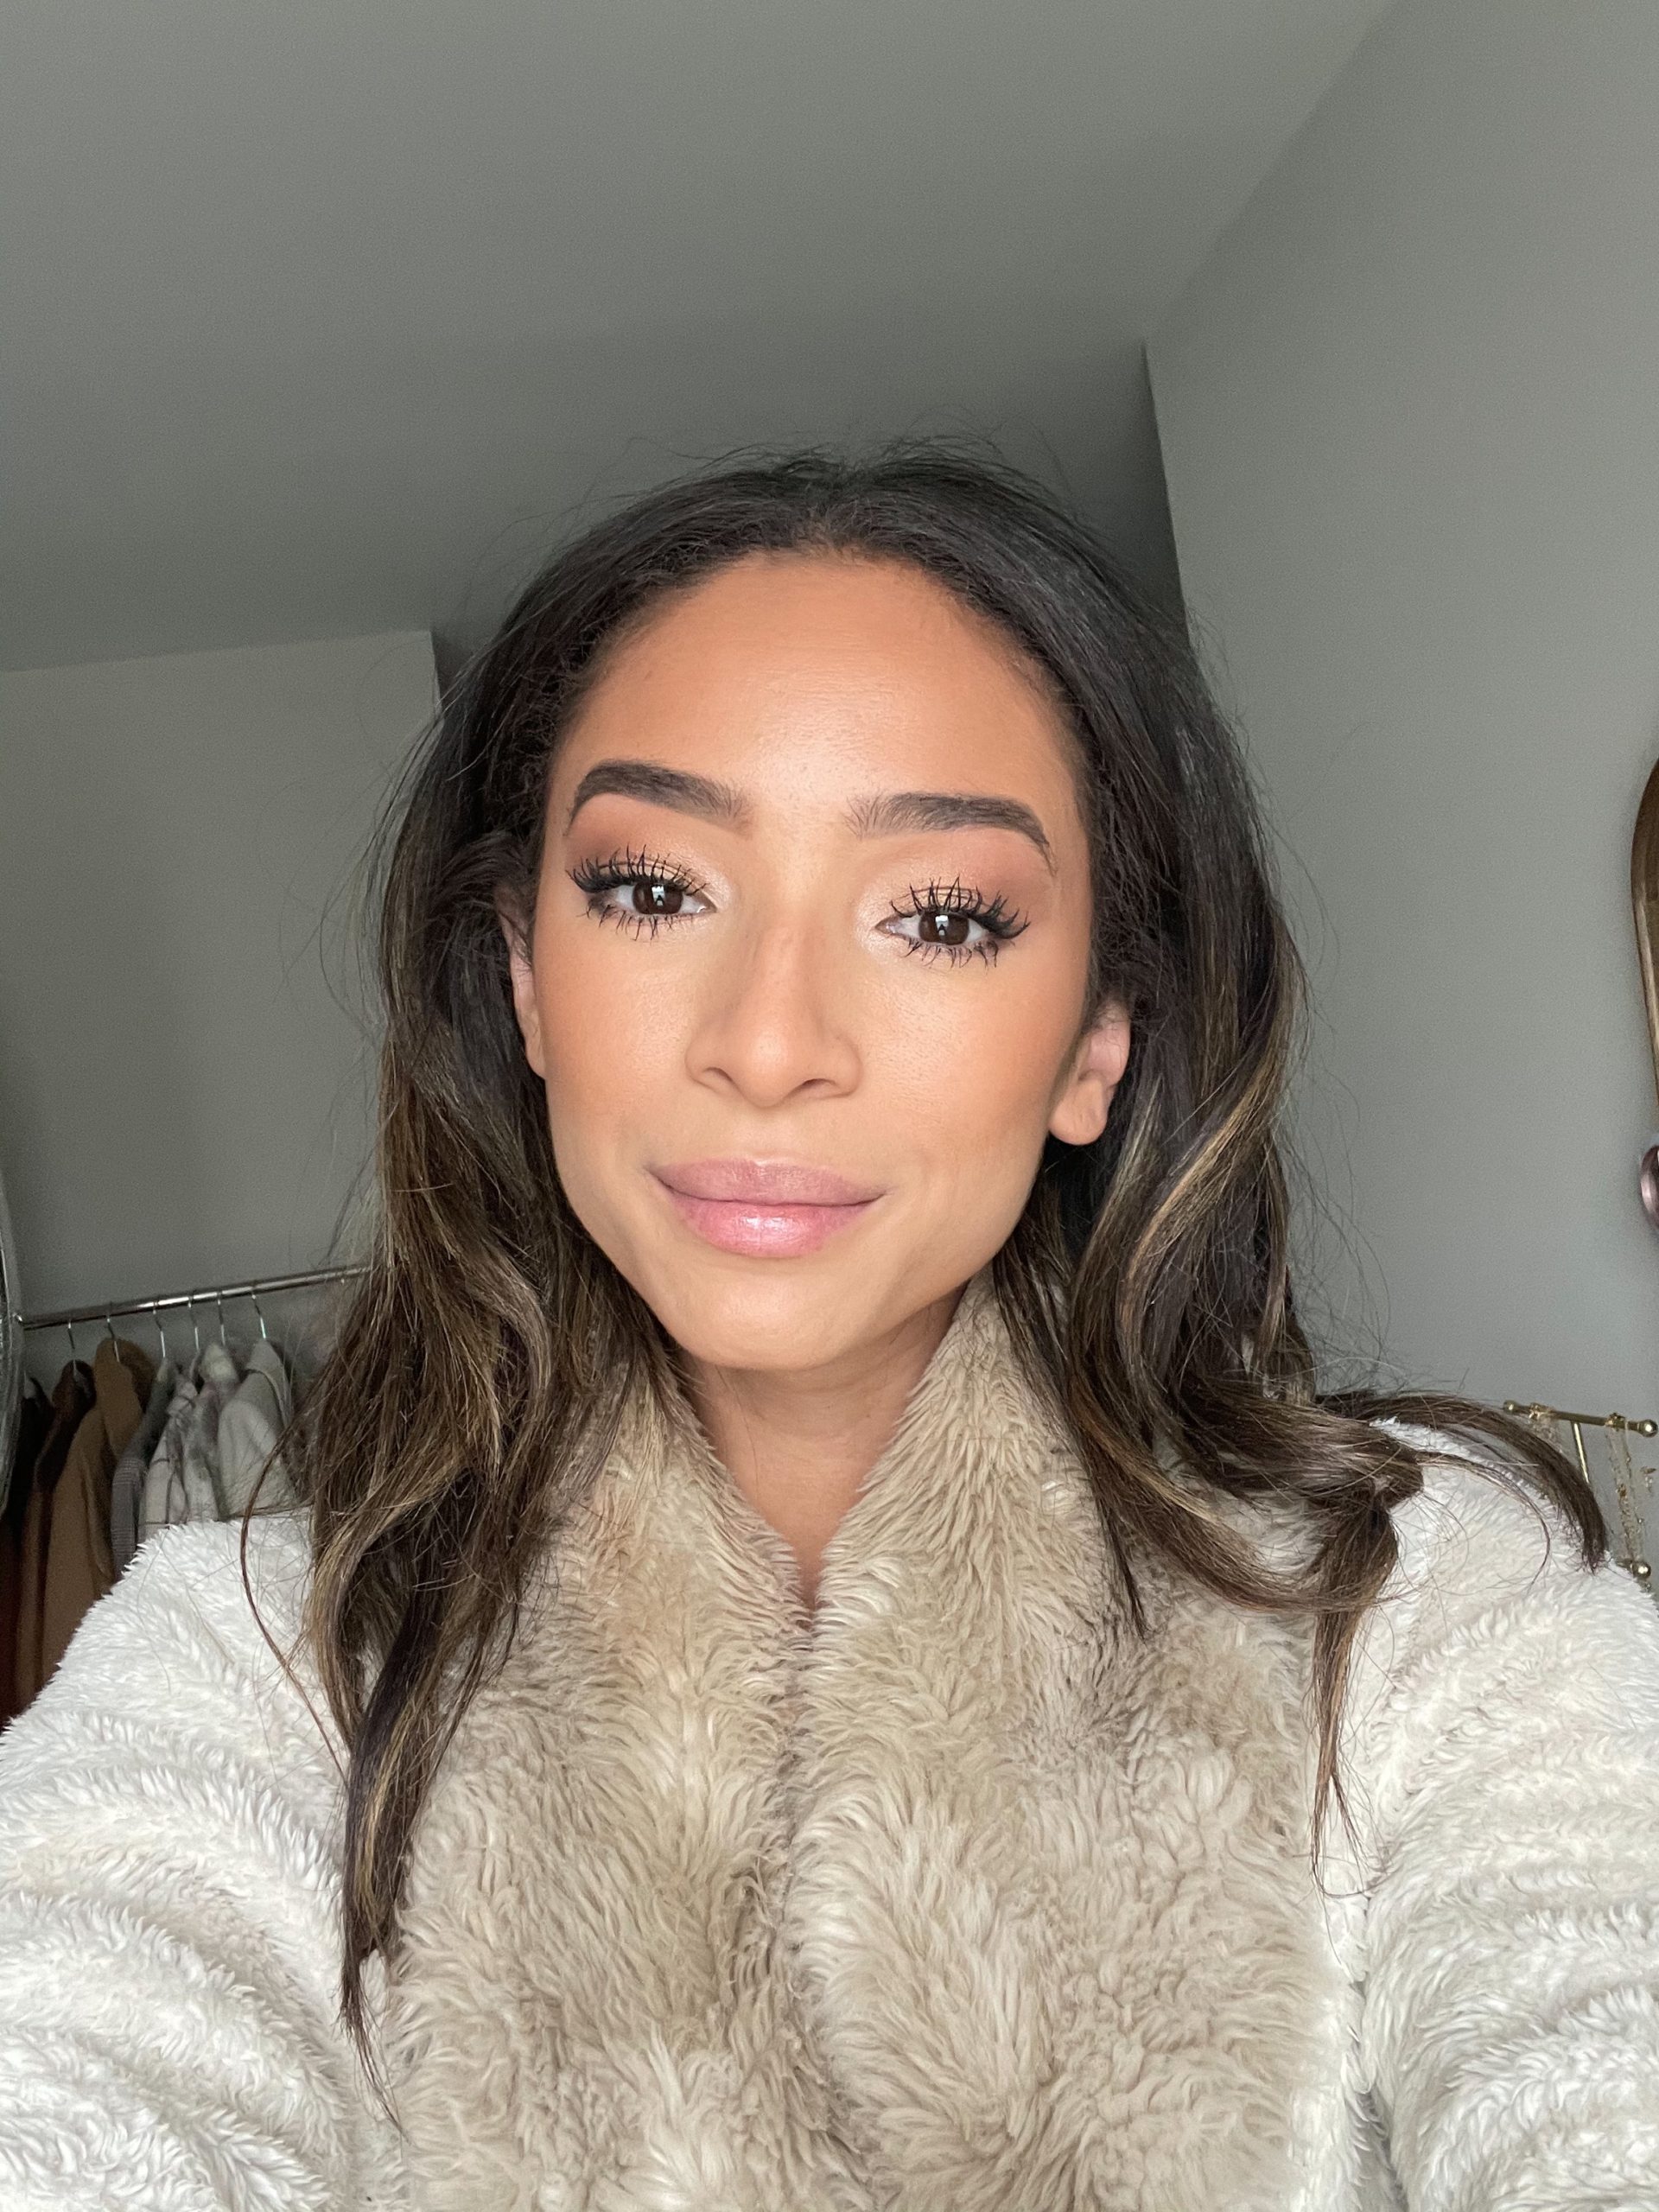
Highlighter
I LOVE the highlighter in the Charlotte Tilbury Bronze + Glow Duo for a subtle natural glow – it is very pigmented so a little goes a long way! Use on the tops of your cheekbones, cupid’s bow, and along your nose.

That’s it! It seems like a lot but once you get used to it, it actually becomes second nature and can be done in under 20 minutes – just takes practice! Also, one thing to keep in mind is how different colors can look on different skin tones and in different lighting. I love purchasing from Nordstrom because if something doesn’t work for me, they offer free returns!
Hope that was helpful! If you want a video walk through of how I created this look checkout my Instagram highlight.

Thank you Nordstrom for sponsoring today’s posts. All thoughts and opinions are my own.
Xo,
Nena

